Before I switched to a Mac a few years ago, I had been using the Notepad++ text editor for all the coding I did. I never really did like Dreamweaver. For me it was too complicated by trying to be everything.
I truly believe in and appreciate simplicity. I like simple tools that allow customisation for power users. On a Windows PC, Notepad++ somehow provided that. To be honest, I wasn’t even a power user back then, so customisation wasn’t a priority. I just needed a very simple text editor.
In search for a new text editor
As I mentioned before, I switched to a Mac a few years ago. After doing so, I realised that Notepad++ is not available on OSX. That was the reason to start searching for a new text editor that would be somehow similar to what I was used to.
A quick Google search provided me with options like Brackets, Coda, TextMate, TextWrangler, BBEdit 10, Aquamacs, Espresso and Sublime Text. There’s a wide range of these and I tried most of them. In the end, I decided to give Brackets a proper try. It’s free and has live reload on document change already built-in. That was something I really appreciated.
I started using Brackets when it was still in beta. And it was obvious. It had some disturbing bugs but what really bothered me was the performance. Sometimes it got to a point when even scrolling through an HTML document would produce lag. I had none of it and decided to give another text editor a try. For some reason, Sublime Text looked the most promising.
The text editor you’ll fall in love with
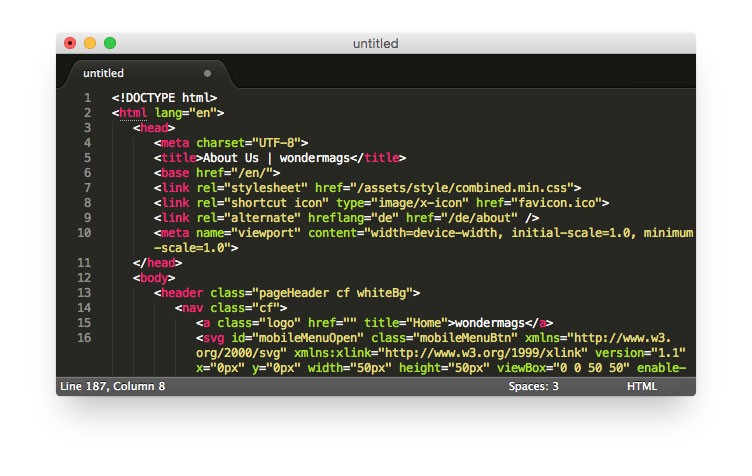
Once you install Sublime Text you get something that looks very simple in both UI and functionalities. At first, it doesn’t look that special actually. Why would someone pay $70 for this? But once again, Google has all the answers you need. After taking some time to really get the essence of Sublime Text, I fell in love with it. Here’s my setup.
Upgrade to Sublime Text 3
If you haven’t already, you should update to the Sublime Text 3. It’s still in beta but works very well, and package support is also very good. There’s no major difference between the two. At least not on the first sight. But because of numerous updates under the hood, the performance is much better.
If you’re not sure whether to upgrade or not, give this tool a try. It will tell you if you’re ready to upgrade, determined by the support for the packages that you’re using.
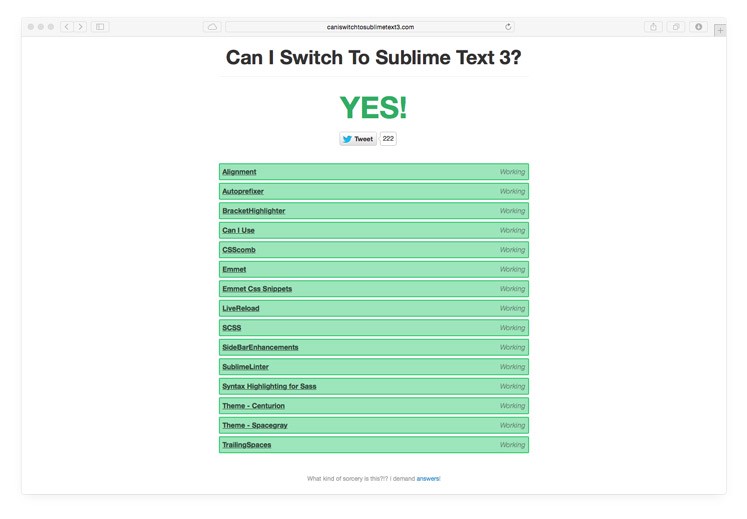
In my case, I had all green, so I was ready to go.
Install package control
First of all, I install the Package Control. Without it, it would be much harder and time-consuming to customise Sublime Text. Installation is very simple and quick. Check the instructions here.
After you have that installed, you’re able to install all the expansion packages right from Sublime Text so you don’t have to manually download and install them. It’s a timesaver.
Theme & color scheme
After a successful upgrade, I immediately started looking for a cool theme. I need my text editor to look slick and minimalistic. And I really wanted to get rid of that old, Windows Vista like look that Sublime Text comes with by default. To get rid of it, you have to change the theme.
Theme is not the same as colour scheme. The former defines the looks of Sublime text window, sidebar, tabs and modal windows and the latter defines the background and syntax highlight colours.
There’s a particular theme I really like, called Space Gray. I found it after searching for quite some time. I narrowed my options to this and Centurion. Both look very good, both very close to what I like. In the end, I decided to go with Space Gray and I’m sticking with it for now.
There’s even more colour schemes than themes for Sublime Text. There’s a cool website with a lot of them: Colorsublime. I like the base16-ocean so I just stick with it. It gives me just the right amount of contrast so my eyes don’t suffer too much.
I event went further and removed the arrows that are meant for navigation through the tabs. This might come handy when you have a gazillion of tabs open. But I got used to switching between them with the Alt + Cmd + left/right arrows shortcut. So for me, those arrows were just visual clutter and I removed them. To do so you have to add this line into your user settings.
“enable_tab_scrolling”: false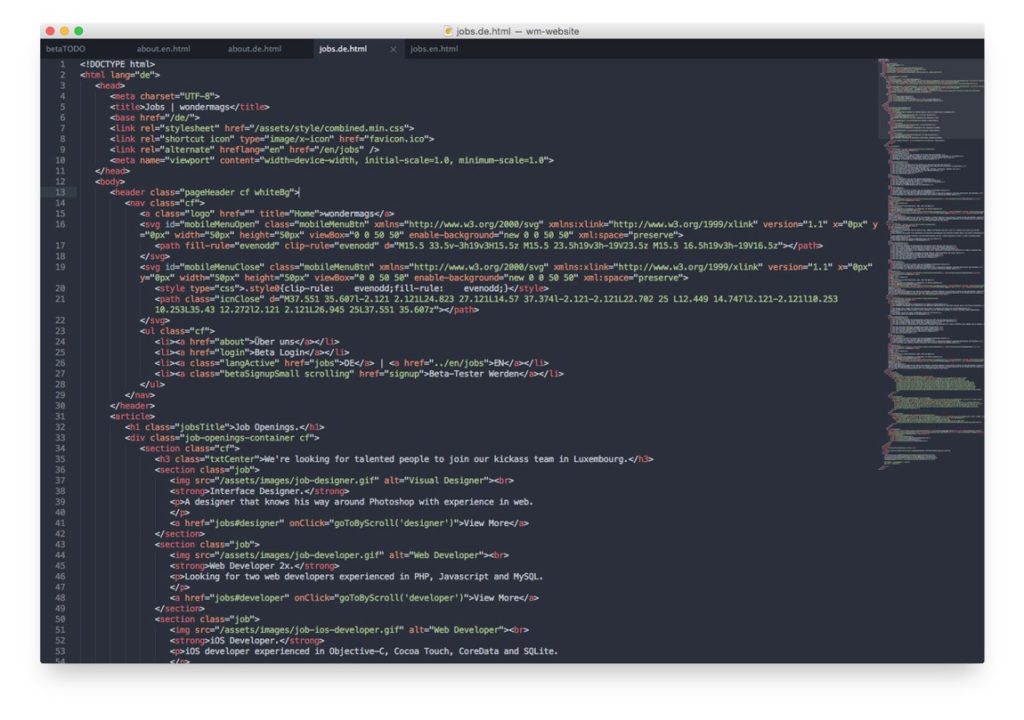
Personalisation
As I mentioned before, I was using Brackets for some time. Not long, but long enough to get used to some keyboard shortcuts. The two I used the most that had different key bindings from Sublime were delete line and duplicate line.
After switching to Sublime Text, I noticed that the duplicate line shortcut from Brackets had the opposite effect in Sublime: it deleted the line. So I decided to add my own custom keyboard shortcuts. And in Sublime that’s very easy. These can be added/edited in Preferences > Key Bindings — User. Whatever custom shortcut you add there will overwrite the default one. In my case they were these two:
{ “keys”: [“super+d”], “command”: “duplicate_line” },
{ “keys”: [“super+shift+d”], “command”: “run_macro_file”, “args”: {“file”: “Packages/Default/Delete Line.sublime-macro”} }
I hate scrolling horizontally, so I wanted Word wrap to be enabled by default. Another search on Google, gave me an answer in less than a minute. I just had to add this line to my Preferences > Settings — User.
“word_wrap”: trueNow, every time I create/open a new document, the word wrap setting will be enabled by default.
Packages
I don’t want to repeat myself so this is a list of additional packages to the ones I mention in other parts of this article (themes and Package Syncing later on).
Alignment is one of the Top 25 packages for Sublime. It provides easy alignment of multiple selections and multi-line selections.
Autoprefixer is also a very popular package. When you run it, it adds the vendor prefixes to you CSS. Ain’t nobody got time for messing with that.
BracketHighlighter marks the opening and the closing bracket of the current line of code. Sometimes, this comes very handy.
Can I Use adds a shortcut to your key bindings with which you can quickly check how well is a CSS property supported by browsers. This one goes online to check for that. There’s also a package that provides this offline — caniuse_local.
CSScomb makes your code beautiful. Now you can do it very quickly with this package.
Emmet is like magic for your coding. Once you get the hang of it, you will save time. A lot of time. Just write an “equation” of your code, press tab, and there it is.
Emmet CSS Snippets the same as Emmet but this time for CSS (including LESS and SASS).
LiveReload refreshes the website you’re working on when you make a change to the source code. I got used to this behaviour when I was using Brackets and really liked it. Another time saver.
SCSS adds syntax highlight for the .scss files. I recently decided to learn to use CSS preprocessing, so I need this.
SideBarEnhancements makes the sidebar in Sublime more useful. It adds some basic functions: new file/folder, edit, open/run, reveal, find in selected/parent/project, cut, copy, paste, paste in parent, rename, move, delete, refresh…. and also some advanced features.
TrailingSpaces highlights all the trailing spaces in your code. It can also remove all trailing spaces with one action. What’s wrong with having trailing spaces?
Package syncing
I have Sublime Text installed on two machines: my personal MacBook and my iMac at work. No matter which machine I’m working on, I need my personal Sublime Text setup. I need it to look exactly the same with all the packages on both machines.
Keeping both installations in sync manually is time-consuming. I did it for some time but got tired of it. After a while my two Sublime Text installations grew apart. I thought to myself: can’t there be a way to automatically sync the two installations of Sublime Text?
There is! Or, there are, because there’s a bunch of them. The most popular would be to sync your installation with a little help from Dropbox (I don’t really like Dropbox so I used MEGA instead). And there’s a package you can install that makes it very easy to set this up — Package Syncing.
So now, when I install a new package on one of my machines, it will be automatically synced to the other. This also applies for all my settings and personalisations of Sublime Text. Neat, right?
Icon
For some reason, nobody likes the default Sublime Text icon. That’s why there’s so many alternatives available on Dribbble. I honestly never really had any problems with the default icon. I kinda liked it. But since the Yosemite UI switch to a flatter look, the default Icon didn’t match anymore. Yes, that’s the only reason I decided to change the icon. Designers, eh?
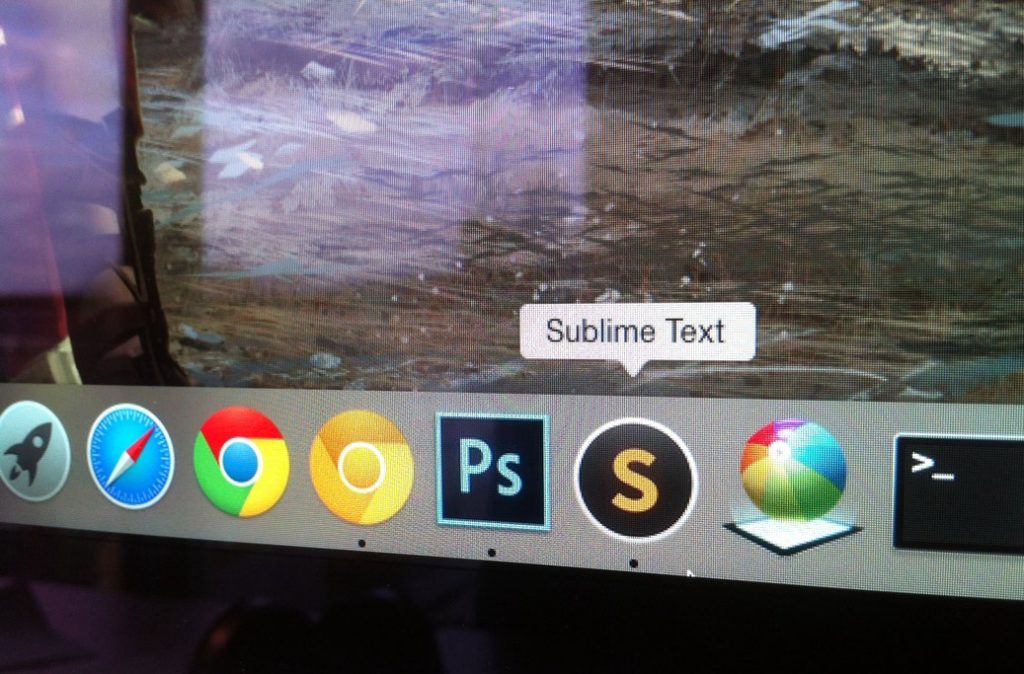
I really like this icon. It keeps the original design of the Sublime Text icon but also looks great on latest OSX. You can get it here.
Further Reading:
- 12 Most-Wanted Sublime Text Tips And Tricks — Hongkiat
- 18 Essential Plugins To Get More Out Of SublimeText — Hongkiat
- Can I Switch To Sublime Text 3?
- Switching to Sublime Text 3 — Ross Lawley
- Perfect Workflow in Sublime Text 2 — Tuts+ free course

read review Obs
consists of the book itself
Get the facts carding shop